
Repairing All Major Appliances
Whether you are looking for refrigerator repairs, dishwasher repairs, or assistance with any other major appliance in your home, Texas True Appliance Repair is the right choice for you, offering reliable service, experienced technicians, and a commitment to ensuring your appliances are back up and running in no time.
Trustindex verifies that the original source of the review is Google. Prompt response to my request . Very ethical, experienced technician.Posted on GoogleTrustindex verifies that the original source of the review is Google. Wow, I am impressed!! Our whole experience was top notch! Quick to come out and gave an honest opinion. Rich made sure we understood our options so we could make an informed decision. Will absolutely call again in the future!!Posted on GoogleTrustindex verifies that the original source of the review is Google. Garrett was amazing!!! Thank you so much very professional quality beyond expectations! Price was great value! And he was so awesome great guy true professional really thorough and went above and beyond. Thank you so much again Garrett we will definitely save your number and share it!:)Posted on GoogleTrustindex verifies that the original source of the review is Google. Service excellence, from the initial call to repair completion after ordering the needed parts. Professional, competent, fair pricing & helpful tips to minimize future breakdown. Customer focused satisfaction is obvious & appreciated.Posted on GoogleTrustindex verifies that the original source of the review is Google. Garrett was awesome. Took about 30 minutes and was inexpensive. Would definitely recommend!Posted on GoogleTrustindex verifies that the original source of the review is Google. I have used them twice and been pleased with honesty and service both timesPosted on GoogleTrustindex verifies that the original source of the review is Google. Rich with Texas True Appliance Repair repaired our refrigerator in a timley and professional manner. Service was excellent, diagnosis was spot on. Repair costs were fair. Make TTAR your go to for all appliance repair. Thanks TTAR team.Posted on GoogleTrustindex verifies that the original source of the review is Google. I called 5 other repair companies before landing on Texas True Appliance Repair. Jennifer was the first one to suggest getting LG to cover the parts that were still under warranty, which no one else offered. Super impressed with the impeccable customer service and knowledge provided by both Jennifer and Rich! Rich was truthful about our situation and could have kept running the credit card to replace parts knowing my 8 yr old LG refrigerator was never going to be 100% again. Instead he gave us his honest opinion and even offered to help us find a new refrigerator. If I ever need an appliance repaired in the future, Texas True Appliance Repair will be my one and only call!Posted on GoogleTrustindex verifies that the original source of the review is Google. Very quick to respond, ordered parts as soon as he could and fixed it in less than 20 minutes (timer knob on dryer had broken), and professional all throughout, I would highly recommend for any repair!!
Factory-Authorized Appliance Repair in Texas


At Texas True Appliance Repair, we proudly service all brands and models—both residential and commercial. Whether you need expert diagnostics, reliable repairs, or ongoing maintenance, our trained technicians have the experience to handle any appliance with precision and care.
What sets us apart is our commitment to providing factory-certified service for many of the industry’s leading manufacturers. This means our team receives specialized training, uses approved repair methods, and works with genuine parts to ensure your appliance is restored to peak performance.
Factory-Certified for These Leading Brands
")


Contact Us Today!


About us
Texas True Appliance Repair
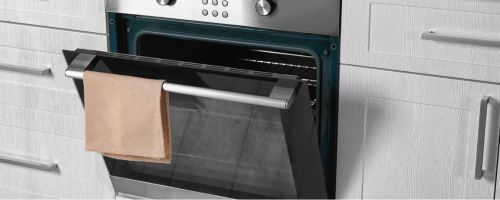
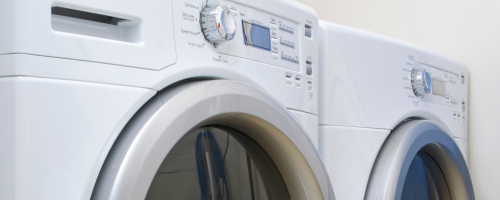
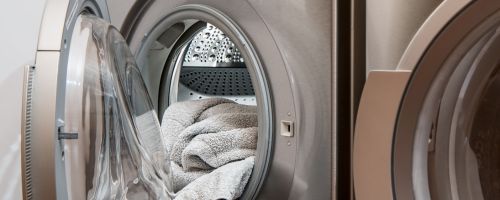
At Texas True Appliance Repair, we understand the critical role appliances play in your daily life. From refrigerators and washing machines to ovens and dishwashers, home appliances make modern living more convenient and comfortable. When they malfunction, it's important to have a reliable repair service you can trust to resolve the issue promptly.
We are committed to providing the highest level of home appliance repair in McKinney. Our experienced technicians are fully trained to handle a wide range of appliance brands and models. With our customer-focused approach, we ensure that every repair is completed with precision and care. Our goal is not just to fix the problem but to build lasting relationships with our customers by delivering exceptional service at competitive prices.
Contact Us Today!
Contact us today for a consultation and let our experts bring your vision to life.


Professional Home Appliance Repair
Are your appliances acting up? Don’t fret! Our dedicated team of expert repair technicians is here to save the day. With years of experience and a passion for fixing things, we’re your go-to solution for all your appliance repair needs.
Professional Home Appliance Repair
Are your appliances acting up? Don’t fret! Our dedicated team of expert repair technicians is here to save the day. With years of experience and a passion for fixing things, we’re your go-to solution for all your appliance repair needs.
Why Choose Texas True Appliance Repair in McKinney, TX?
When it comes to appliance repair we stand out for several reasons. Here’s why Texas True Appliance Repair should be your first choice for reliable, fast, and affordable services.
Our team is made up of highly skilled and certified technicians who have years of experience in diagnosing and repairing all major home appliances. Whether it’s a complicated issue or a quick fix, we have the expertise to get the job done right.
We understand that appliance breakdowns can happen at the most inconvenient times. That’s why we offer prompt response and fast service, ensuring your McKinney appliance repair needs are met without unnecessary delays.


Comprehensive Appliance Repair Services in McKinney, TX
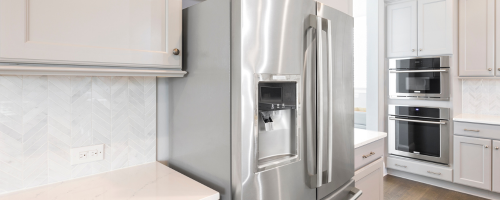
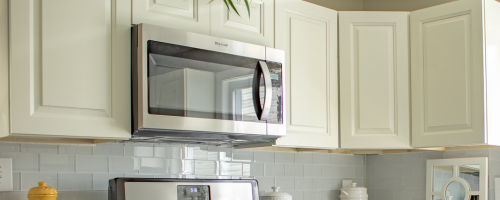
The kitchen is the heart of the home, and when your appliances stop working, it can be a major inconvenience. We offer reliable McKinney appliance repair for all your kitchen needs.
A malfunctioning refrigerator can lead to food spoilage and waste. Our experts specialize in diagnosing and fixing issues with refrigerators of all brands. From temperature control issues to leaks, we have you covered.
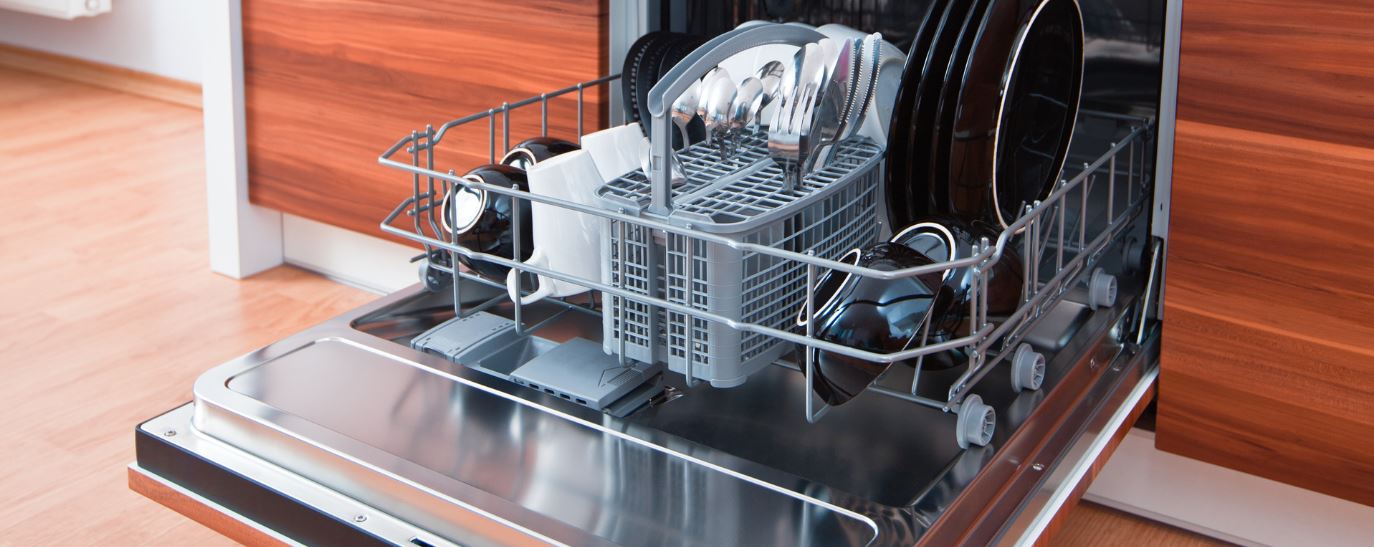
A broken dishwasher can create a mess in your kitchen. Our team provides efficient appliance repair for dishwashers, ensuring they run smoothly and effectively clean your dishes.
Specialized Appliance Repair McKinney
We also offer specialized appliance repair in McKinney Texas for less common appliances that may require unique attention. Our skilled team is equipped to handle a wide variety of issues.
If your ice maker isn’t producing enough ice or has stopped working altogether, we can quickly diagnose and repair the problem, restoring the convenience of having ice on demand.
Wine coolers require precise temperature control to maintain the integrity of your wine collection. Our technicians provide specialized repair services for wine coolers, ensuring optimal performance.
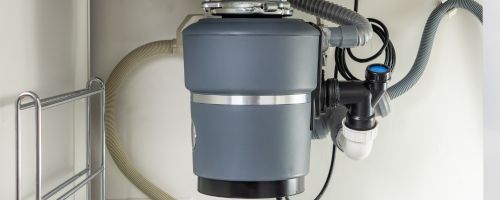
A broken garbage disposal can cause a smelly, clogged sink. We offer repairs for garbage disposals, restoring their functionality and eliminating blockages in no time.
